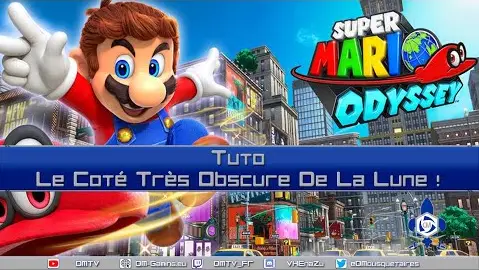
500 Star Bonus Mission

Super Mario Odissey 500 Moons Bonus Mission: Find in this tutorial guide how to complete Super Mario Odissey's toughest mission!

A doubt before recovering the 500 moons or a hassle to finish this level?
You will have all the answers in the video below 🙂
We're not going to hide it, the key to succeeding in this mission is attendance. It took me 6 hours without a guide to pass it. With this guide you should be able to divide this time by 2 ^^
Phase 1: lava lava
At the start of the level, skip the goombas, climb the pillars as quickly as possible and jump on the first asymmetric bar. Wait for the others to come back up and jump quickly. Repeat for Part 2, pausing to reach the second group of bars.
When you arrive at the barrel bathed in lava, use the triple jump technique, starting with the smallest barrel (A> A> A). This simply allows this phase to be passed.
After that, take the heart if necessary, otherwise keep it in case the next step goes wrong. Cap the fireball and charge with B all your jumps. Take your time and timed your jumps, even if it means losing a heart or two.
After you take the cannon and land on the next platform, go around and take the heart behind. Climb the floors, remember that you can shake your controller to jump higher.
The icy water passage is quite complicated, take an anti-cold suit or lose a life, you will regain it later. Take Yoshi and climb with a lick, alternating the two columns.
Phase 2: Mario is in the air
Once on the passage of "flowers", do not go too fast so as not to pass it. Ignore the heart on your right and go straight to the sphinx (answer: bowser), it will give you a 6 life heart. Go through it every time, this heart is very profitable.
The next step is one of the most complex, it will take several tries before you get the hang of it. Take a good look at the video to see the animation. Position yourself in a back somersault to make big jumps.
When you get to the top, take Mister Couac Couac, jump and glide towards the tornadoes. Not much complicated, a bit of RNG though. If you are hit before the tornado, you won't be able to take advantage of the current!
The last part of this phase consists of timing the jumps of the forks. With the helping hand it shouldn't be a problem. Ignore the rings and go straight to the tunnel. If you hit the lava, don't try to regain a fork it's impossible, try to go to the platform with the lives you have left.
Phase 3: The difficulty!
There, we will have to take out the handkerchiefs! This is the hardest part. It starts with a platform and an intensive spawn. Avoid at all costs to touch the ring of fire trigger, which will greatly complicate your mission. Be careful, the hat tends to auto-lock the trigger if you are not aiming! Get in a corner and aim for the creeps. At the end the platform disappears, don't be fooled 🙂
You then arrive at the piaf jumps, take a good breath and timed your jumps, this is the last hardest part. Skipp the heart, it's not worth the risk. Take a direct right as shown in the video.
Phase 4: The end?
Still a little work, but you're almost there! The next step is not to throw, but the great difficulty is over. Go directly to Donkey Kong to kill him, you can lose lives that's okay (you'll get them back later).
You are then at the last step, in big Bowser to break stones! Rush and destroy everything in front of you (be careful not to fall!), You can also lose lives, as long as you have one left!
![]()

Phase 5: The end.
There you have it, you have passed all the tests of this mission, a little speech, a thank you, and especially the Invisible Hat! History of poke the NPCs.
Hope you enjoyed this guide, please let me know your comments!
By Alchemists, October 2019